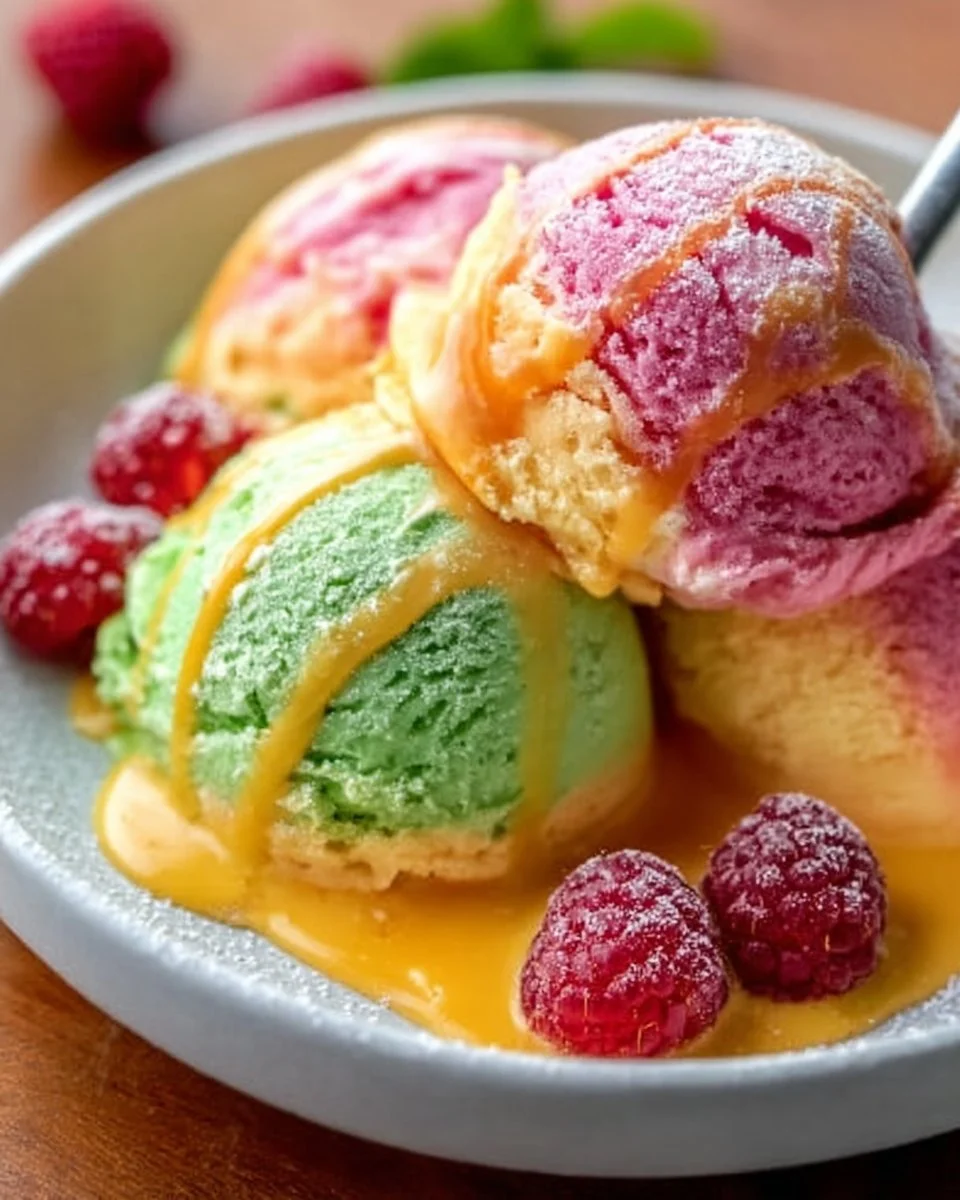
Oh, the divine magic of homemade rainbow sherbet! Picture this: a scoop of creamy, velvety sweetness melts across your tongue, releasing cascades of vibrant flavors that dance in perfect harmony. Each vibrant swirl beckons with its own unique personality—the tangy brightness of lime, the zesty burst of orange, and the sweet-tart delight of raspberry. This isn’t just a frozen treat; it’s an enchanting experience that promises joyful memories with every colorful spoonful. After a long day, perhaps during a sun-soaked afternoon, or while gathering loved ones for a special occasion, this sherbet becomes more than a dessert—it transforms into the life of the party.
Let’s not forget the texture. Imagine a soft, airy treat that envelops your senses with a frosty kiss—smooth yet full of character, each flavor plays its part perfectly, offering you a small taste of summer no matter the season. Homemade rainbow sherbet beckons with its colorfulness and unfettered joy, inviting spoon after delightful spoon until your bowl is empty, and you’re left craving just a bit more.
Why You’ll Love This Homemade Rainbow Sherbet
Every bite of this homemade rainbow sherbet is an invitation to indulge in pure nostalgia. With the sweet aroma wafting through your kitchen, you can almost hear the laughter of children and feel the warmth of sunny afternoons spent outside. The combination of flavors is what truly makes this treat special; it’s a blend as delightful as any summer day, a refreshing companion to warm evenings and festive gatherings. Rich in flavor yet light as air, this dessert stands out because it tickles your taste buds while cooling you down—a perfect combination for any occasion.
Not only does it reflect the whimsy of childhood, but homemade rainbow sherbet also provides the satisfaction of knowing you created this magic with your own hands. Whether you serve it at birthday parties, summertime barbecues, or simply to brighten a rainy day, it brings joy to every gathering.
Preparation Phase & Tools to Use
To create your masterpiece, you’ll need a few key kitchen tools:
- Ice Cream Maker: This is your main tool for churning the cream base into the perfect texture. It ensures your sherbet becomes smooth and creamy rather than ice-crystal-laden.
- Saucepan: A medium-sized saucepan allows you to combine and heat your cream, milk, and sugar until they blend into a luscious base.
- Blender: Use a blender to puree those vibrant raspberries until they are a delectable sauce that bursts with flavor.
- Fine Mesh Sieve: This will help achieve a silkier raspberry puree, free from seeds, for a perfectly refined sherbet experience.
- Container for Freezing: A shallow, airtight container works best for even freezing. Alternatively, a loaf pan can be charmingly retro and functional.
As you gather your tools, keep a few practical tips in mind: Chill your mixing bowl and ice cream maker’s bowl ahead of time for the best results. Also, remember to read through the recipe before you begin to familiarize yourself with the steps and timing.
Ingredients for Homemade Rainbow Sherbet
- 1 1/2 cups heavy cream: This ingredient brings richness and a smooth mouthfeel, creating that luxurious creamy texture. If you prefer a lighter alternative, half-and-half or coconut cream can work.
- 1 1/2 cups whole milk: Whole milk balances the cream, adding a pleasant texture. Use low-fat milk for a lighter version, but expect a different consistency.
- 1 3/4 cups granulated sugar (divided): Sugar not only sweetens but also helps create a smooth texture. If you wish to cut down on sugar, consider using a natural sweetener like agave syrup.
- 1 teaspoon vanilla extract: The warm aroma of vanilla enhances the overall flavor dimension. Use pure extract for the richest flavor.
- 3/4 cup orange juice: Freshly squeezed orange juice adds zesty brightness. You can use bottled juice in a pinch, but freshly squeezed tastes so much better.
- 1/2 cup lime juice: The tanginess of lime creates a refreshing contrast to the sweetness. Substitute with lemon juice if lime is not available.
- 8 ounces raspberries: Raspberries bring vibrant flavor and color. Swap in strawberries or blackberries for a different flavor profile.
How to Make Homemade Rainbow Sherbet
-
In a medium saucepan, combine the heavy cream, whole milk, and 1 cup of granulated sugar over medium heat. Cook and stir until the sugar dissolves completely, about 5-7 minutes. Make sure not to bring it to a simmer; you’re simply seeking warmth here.
-
Remove the pan from heat, then stir in the vanilla extract; let the mixture cool completely. A great tip is to leave this out until it reaches room temperature before putting it in the refrigerator to chill faster.
-
While the base cools, blend the raspberries with 2 tablespoons of sugar until smooth. For an extra touch of finesse, strain the puree through a fine mesh sieve to remove the seeds, ensuring a silky texture.
-
Once the cream mixture is cool, pour it into your ice cream maker’s bowl. Churn according to the manufacturer’s instructions until it reaches a soft-serve consistency, typically around 20-25 minutes.
-
Now, divide the churned base into three separate bowls. Mix one portion with the raspberry puree, another with the orange juice and a few drops of orange food coloring, and the last with lime juice and green food coloring. Feel free to adjust the colors to your liking.
-
Layer the mixtures in an airtight container, alternating between the raspberry, lime, and orange mixtures like a beautiful sunrise. Smooth the top with a spatula and cover tightly.
-
Freeze for 4-6 hours until firm. Before serving, let it sit at room temperature for about 5-10 minutes to soften slightly—this allows for that perfect scoop!
Chef’s Notes & Helpful Tips
- Make-ahead Tips: You can prepare the sherbet a day in advance. It keeps well and will become firmer as it sits in the freezer.
- Alternatives: If you don’t have an ice cream maker, pour the mixture into a shallow dish and freeze it. Stir it every 30 minutes for the first few hours to break up ice crystals until it’s firm.
- Customization Ideas: Add a touch of celebratory flair with sprinkles when serving or try different fruit juices for unique flavors. A swirl of pureed fruits can also add a refreshing spin!
Common Mistakes to Avoid
-
Not cooling the base completely: It’s essential to cool your mixture to room temperature before churning to achieve the perfect texture. A warm base can lead to icy sherbet.
-
Over-churning: Keep an eye on the mixing; churning too long can turn your sherbet into ice cream. Aim for a soft-serve texture before freezing.
-
Ignoring the layering technique: If you don’t layer the mixtures, you’ll end up with a muddled color, losing that beautiful rainbow effect.
-
Skipping the fine strain for raspberries: Leaving seeds in the puree can create an unpleasant texture. Always strain for the smoothness your taste buds deserve.
-
Not letting it soften before serving: Trying to scoop straight from the freezer can be a workout! Allow the sherbet to sit a few minutes to become scoopable.
What to Serve With Homemade Rainbow Sherbet
Embrace creativity and pair your rainbow sherbet with delightful companions:
- Waffle Cones: The lightly crunchy texture proves an irresistible contrast to the creamy sherbet.
- Fresh Fruit Salad: The freshness of fruits complements the sweet flavors perfectly, enhancing the overall experience.
- Pound Cake or Angel Food Cake: The lightness of these cakes pairs beautifully with the rich sherbet.
- Chocolate Sauces: Drizzle some chocolate over your sherbet for an indulgent twist.
- Mint Leaves: A few fresh mint leaves add a lively aroma and freshen up each bite.
- Sprinkles: Kids (and adults) love a dash of colorful sprinkles. It adds not just fun but also a delightful crunch.
- Extra Fruit Purees: Serve with additional fruit sauces to elevate the flavors.
- Yogurt Parfaits: Layer it with yogurt and granola for a festive breakfast or healthy snack twist.
Storage & Reheating Instructions
Carefully store any leftover homemade rainbow sherbet in an airtight container to prevent freezer burn. It will keep for about 2-3 weeks, but it’s so good that it’s sure to be devoured long before then! Simply place it in the refrigerator for around 15-20 minutes if it becomes too hard to scoop.
Estimated Nutrition Information
Each generous serving of this homemade rainbow sherbet contains approximately:
- Calories: 250
- Total Fat: 13g
- Saturated Fat: 8g
- Cholesterol: 60mg
- Sodium: 40mg
- Total Carbohydrates: 29g
- Sugar: 25g
- Protein: 2g
(Nutrition values may vary based on ingredient brands and preparation methods.)
FAQs
Can I make this sherbet without an ice cream maker?
Absolutely! After combining all your ingredients, pour the mixture into a shallow dish. Stir it every 30 minutes for the first few hours before it completely freezes to achieve a smoother consistency.
How can I adjust the sweetness?
Feel free to adjust the sugar to your liking. If using fruit juices, keep in mind that some are sweeter than others, so you can taste as you go.
What if I don’t have fresh fruit?
You can always use frozen fruit—just allow it to thaw slightly before blending. You might need to adjust the sugar, as frozen fruits vary in sweetness.
Can I add other flavors?
Certainly! Feel free to experiment with different fruit juices or purees. Think mango, pineapple, or even peach for a tropical spin!
Is this recipe gluten-free?
Yes, it’s naturally gluten-free! Just ensure all added ingredients align with your dietary preferences.
Savoring homemade rainbow sherbet encapsulates the essence of sweetness, nostalgia, and creativity—every scoop delivers a rush of happiness. As you dive into the refreshing flavors, allow the vibrant colors to remind you of sunlit days and joyous celebrations. It’s time to unleash your inner child in the kitchen and treat yourself to this delectable delight. You never know; it could be the beginning of a wonderful new tradition! So grab those ingredients, roll up your sleeves, and get ready to create irresistible magic.
Print
Homemade Rainbow Sherbet
- Prep Time: 15 minutes
- Cook Time: 10 minutes
- Total Time: 30 minutes
- Yield: 8 servings 1x
- Category: Dessert
- Method: Churning
- Cuisine: American
- Diet: Vegetarian
Description
A colorful and creamy treat that combines the tangy brightness of lime, zesty orange, and sweet raspberry for a refreshing dessert experience.
Ingredients
- 1 1/2 cups heavy cream
- 1 1/2 cups whole milk
- 1 3/4 cups granulated sugar (divided)
- 1 teaspoon vanilla extract
- 3/4 cup orange juice
- 1/2 cup lime juice
- 8 ounces raspberries
Instructions
- In a medium saucepan, combine the heavy cream, whole milk, and 1 cup of granulated sugar over medium heat. Cook and stir until the sugar dissolves completely, about 5-7 minutes.
- Remove from heat and stir in the vanilla extract. Let the mixture cool completely.
- While the base cools, blend the raspberries with 2 tablespoons of sugar until smooth, and strain the puree through a fine mesh sieve.
- Once the cream mixture is cool, pour it into your ice cream maker’s bowl and churn according to the manufacturer’s instructions until it reaches a soft-serve consistency, about 20-25 minutes.
- Divide the churned base into three bowls. Mix one portion with the raspberry puree, another with orange juice and food coloring, and the last with lime juice and food coloring.
- Layer the mixtures in an airtight container, alternating between colors.
- Freeze for 4-6 hours until firm. Let it sit at room temperature for 5-10 minutes before serving.
Notes
For variety, try other fruit juices or add sprinkles for fun! Store leftovers in an airtight container for up to 2-3 weeks.
Nutrition
- Serving Size: 1 serving
- Calories: 250
- Sugar: 25g
- Sodium: 40mg
- Fat: 13g
- Saturated Fat: 8g
- Unsaturated Fat: 5g
- Trans Fat: 0g
- Carbohydrates: 29g
- Fiber: 1g
- Protein: 2g
- Cholesterol: 60mg